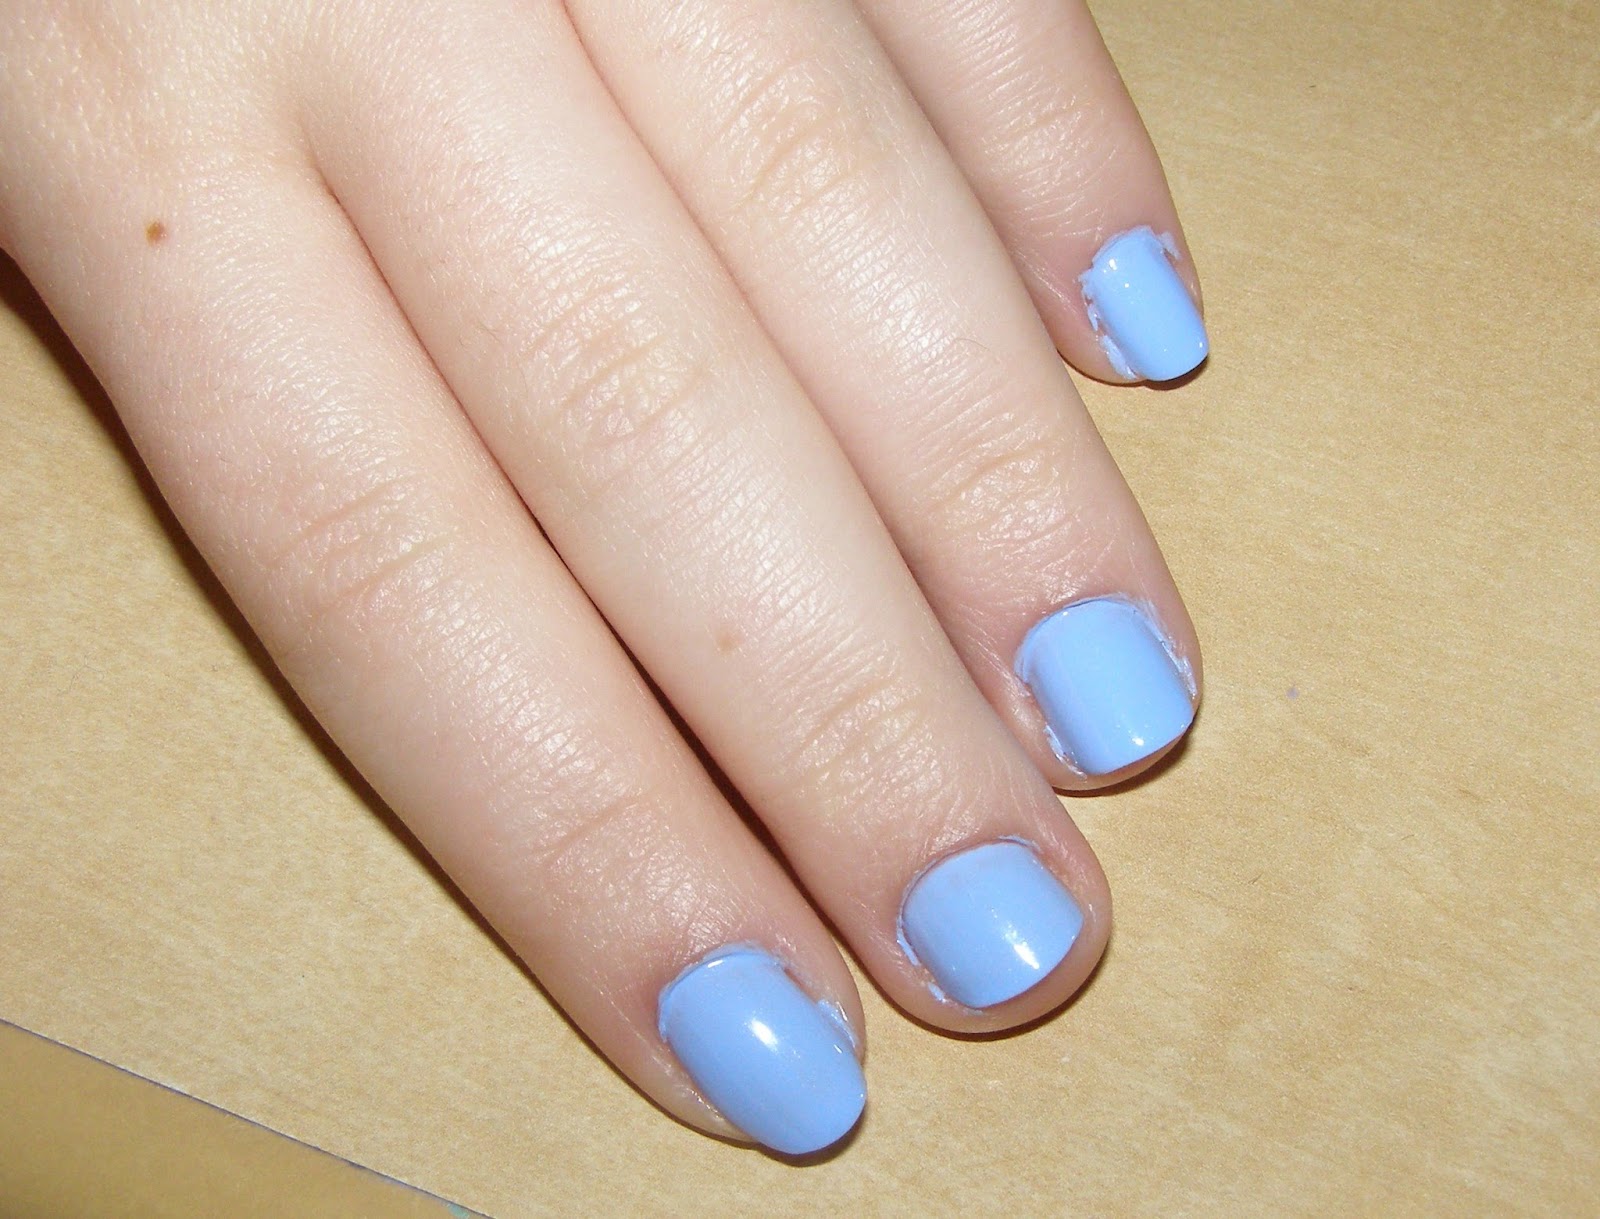
It's winter, and my favorite part of cold weather is wearing sweaters. For today's nail art tutorial I'll be showing you guys how to create this sweater inspired nail art look. It can been a little more complicated, compared to my other tutorials, but with practice it becomes easier. So let's start~~!
Showing posts with label nail art. Show all posts
Wednesday, January 6, 2016
Winter Sweater Inspired Nail Art~!
Hey Guys~!
It's winter, and my favorite part of cold weather is wearing sweaters. For today's nail art tutorial I'll be showing you guys how to create this sweater inspired nail art look. It can been a little more complicated, compared to my other tutorials, but with practice it becomes easier. So let's start~~!
Friday, December 4, 2015
Louis Vuitton Daffodile Heels Inspired Nail Art~!
Hey Guys~!
I love shoes. I have an addiction to buying shoes, but I'm also not a billionaire. One of my dream pairs of shoes are Louis Vuitton Daffodiles. My favorites are black with red on the back. Since I can't afford a pair, today I thought I'd share a nail art tutorial inspired by them. It's super easy, and won't cost as much as the shoes. So let's start~~!
Wednesday, November 18, 2015
Lilac Inspired Nail Art~!
Hey Guys~!
It's time for another nail art tutorial~!! Today I'll be showing you guys this simple nail art design inspired by one of my favorite flowers, lilacs. This is more inspired by lilac bushes, where the flowers hang down, but whatever. It is super easy to do, you don't even need professional nail art tools. So let's start~~!
Saturday, October 10, 2015
Zombie Nail Art Tutorial~!
Hey Guys~!
It's October, and that means Halloween~!! It is one of my favorite holidays because it's the one day a year I can wear cosplay and no one will judge me for it. Anyway, to get in the spooky spirit, I'll be showing you guys how to do this cute zombie nail art. I am a huge fan of AMC The Walking Dead, and the new season is starting this Sunday, so I thought it would be like killing two birds with one stone. So let's start~~!
Sunday, September 20, 2015
Nail Art Kit~!
Hey Guys~!
For a while I've been posting a lot of nail art tutorials here on my blog. On these tutorials I receive lots of questions about the tools I use and where I get them. Today I thought I'd share with you guys what I keep in my nail art kit. So let's start~~!
I also have a large range of jewels and stickers. I bought this set of jewels on Amazon, they don't sell this specific one anymore, but there's a huge variety online. For applying jewels, I use a cuticle stick or tweezers. Stickers again most often at the drugstore. They're not my favorite things to use, but they really add a lot to the designs. Like the jewels I use a tweezers to apply them.
For a while I've been posting a lot of nail art tutorials here on my blog. On these tutorials I receive lots of questions about the tools I use and where I get them. Today I thought I'd share with you guys what I keep in my nail art kit. So let's start~~!
The biggest question I get is where I get my nail art brushes from, the answer may surprise you. I actually used cheap paint brushes from the dollar store. They actually work pretty well, and are inexpensive. Before I use them I make sure to rub them with Vaseline to prevent the nail polish from staining them. After I finish with the nail polish, I like to lightly clean the brushes with nail polish remover and cold water.
Next thing I have in my kit is my really old dotting tool. I got this a really long time ago, but you can find them at any beauty store or drugstore. Mines pretty dirty, but it works alright. If you can't find a dotting tool, toothpicks are the next best thing. Are used toothpicks a lot and they're great for more than just the dots. I've used them to make lines, both straight and squiggly ones.
For gradients I really enjoy using makeup sponges. They're really inexpensive, and super easy to find. I don't have a favorite brand to recommend.
I also have a large range of jewels and stickers. I bought this set of jewels on Amazon, they don't sell this specific one anymore, but there's a huge variety online. For applying jewels, I use a cuticle stick or tweezers. Stickers again most often at the drugstore. They're not my favorite things to use, but they really add a lot to the designs. Like the jewels I use a tweezers to apply them.
So that was everything in my nail art kit. I hope you guys enjoyed this and found it helpful. If you have anymore questions leave them in a comment down below, and I'll try to answer as soon as possible. Thank you guys so much for reading and I'll see you at my next post.
xo
Alyss
xo
Alyss

Thursday, August 27, 2015
Plaid French Manicure Tutorial~!
Hey Guys~!
I've grown my nails out, and now that they're longer I decided to do a french manicure tutorial. But this isn't like any french manicure you have ever seen. The design is a plaid french tip. Also I'll be adding a cute rose decal, but anything looks good with this. It is a bit harder than my other tutorials, but with practice it's quite easy. So let's start~~!
For This Tutorial You Will Need . . .
Base Coat
Nude Nail Polish
Two Nail Polishes of Your Choice
White Nail Polish
Glitter Nail Polish
Clear Top Coat
Nail Art Brush
First apply base coat, to protect your nails from staining and to strengthen them. Once that's dry, apply a nude polish to your nails. Depending on how opaque you want it, apply 1 - 3 coats, I used two. Wait for that to dry before continuing.
With one of your two polishes, I used a teal, and your nail art brush, make a line across each nail at the tip. Then make a teal line towards the tip on the right or left side of the nail. I switched between right and left on each nail.
Once that's dry take your other color, I used pink, and I cleaned my nail art brush, to make a line next to your vertical teal line. Then make a line on the opposite side. Wait for that to dry.
This is optional, but I added a rose decal on my ring finger and thumb nails. I waited for my nail to dry and then placed the sticker on with tweezers. To seal it, I applied clear top coat on the nails with the sticker.
Lastly I applied clear top coat to all of my nails to seal in the design and add a pretty shine~!
I hope you all enjoyed today's nail art tutorial~! If you have any requests for future nail art tutorials, leave them for me in the comments below. Also if you try out this design, share it with me, my social media links are down below. Thank you guys so much for reading and I'll see you at my next post.
xo
Alyss

| Facebook | Twitter | Bloglovin' | YouTube |
P.S. Mary from My Milky Tea is having an awesome giveaway~! Please go check it out <33
Thursday, June 25, 2015
Fire Fairy Nail Art~!
Hey Guys~!
It's summer, so I wanted to do a really unique nail art tutorial that's great for any summer colors. Today I'll be doing this abstract Fire Fairy nail art, which will be my first tutorial, I think, with rhinestones~!! Of course you don't have to, but I really like how it looks. So let's start~~!
For This You Will Need . . .
Base Coat
Coral or Orange Nail Polish
Nude Nail Polish
Gold Nail Polish
Clear Nail Polish
Rhinestones
Dotting Tool
First apply your base coat, to protect your natural nails. With your coral or orange nail polish, create a gradient on some of your nails, I did it on my thumb, middle, and pinky fingers.
Next is the dots. With your gold polish, create a dotted arch on the nails with the gradient. You can do however many or whatever size you like. This is what I did.
On your other nails, apply a nude polish. Then do an arch of coral/orange dots. On the top and bottom of the coral arch, do a gold arch of dots.
On one of your gradient nails we'll be applying a rhinestone. First take your dotting tool and dip it in clear nail polish. Make a dot at the base of your nail. Then use the dotting tool to pick up the rhinestone and place it on the dot. This might take some practice, but once you get the hang of it, it's super easy.
Lastly apply a clear polish over all your nails to seal in your design and give it a nice shine~! Now we are finished~!!
I hope you guys enjoyed this nail art tutorial~! If you would like another abstract fairy/fantasy themed nail art, let me know in the comments what element and/or the creature that will inspire the next look. Thank you guys so much for reading and I'll see you at my next post.
xo
Alyss

Thursday, June 11, 2015
Confetti Nail Art Tutorial~!
Hey Guys~!
I wanted to do a really fun and colorful nail art design, and I came up with this. Today I'll be showing you guys how to create what I am calling, Confetti Nails. It is super easy and requires no professional nail art tools. I did a pastel color scheme, but I think there are millions of color options that would look good too. So let's start~~!
First apply your base coat and let it dry. This will protect your nails from staining. Then apply 2 - 3 coats of your base color. I am using a pale blue from Essie called Bikini So Teeny. Wait for it to dry it between coats, and make sure it's dry before continuing.
Choose some other colors for the 'confetti'. I went with a coral from Etude House, a pastel purple from OPI, You're Such a Budapest, and a pastel green from OPI, Gargantuan Green Grape. I dipped the pencil in the polish and made dots and swirls all over the nail. I started with the coral, then the purple, and lastly the green.
To blend everything, do the same technique with the base color. Wait for this all to dry, it will take a while.
Once it's dry, apply a clear top coat to add a shine and help the design last longer.
And now we are finished~!!
I hope you guys enjoyed this nail art tutorial. If you try it out, or you have suggestions for future nail art tutorials, let me know in the comments below, and share your pictures with me on my social media. Thank you guys so much for reading and I'll see you at my next post.
xo
Alyss
I wanted to do a really fun and colorful nail art design, and I came up with this. Today I'll be showing you guys how to create what I am calling, Confetti Nails. It is super easy and requires no professional nail art tools. I did a pastel color scheme, but I think there are millions of color options that would look good too. So let's start~~!
For this you will need . . .
A Clear Nail Polish / Base Coat
Any Nail Polishes You Like
A Pencil
Choose some other colors for the 'confetti'. I went with a coral from Etude House, a pastel purple from OPI, You're Such a Budapest, and a pastel green from OPI, Gargantuan Green Grape. I dipped the pencil in the polish and made dots and swirls all over the nail. I started with the coral, then the purple, and lastly the green.
To blend everything, do the same technique with the base color. Wait for this all to dry, it will take a while.
Once it's dry, apply a clear top coat to add a shine and help the design last longer.
And now we are finished~!!
I hope you guys enjoyed this nail art tutorial. If you try it out, or you have suggestions for future nail art tutorials, let me know in the comments below, and share your pictures with me on my social media. Thank you guys so much for reading and I'll see you at my next post.
xo
Alyss

Sunday, May 31, 2015
Prom Manicure~!
Hey Guys~!
I'm going to prom on Monday, and I decided to do simple nail art for it. This is just a backwards glitter gradient, and it's insanely easy to do. You could use any color of glitter polish to match your dress or your jewelry. And you don't need to wear this to prom, it's great for any special occasion or for everyday. So let's start~~!
First I applied my base coat from Nailtiques and then I painted my nails with my favorite nude polish, which is Porcelain from Revlon. I applied two coats so it's opaque and let it dry.
Now for the glitter~! Because I wasn't sure what jewelry I would be wearing, I went for a more iridescent glitter. This one is Aisle Be There by Sally Hansen. Do to the gradient start by applying a light layer of glitter from the base of your nail towards the tip. Build up the intensity of the glitter in layers until you've reached a result to your liking. I wanted a little more glitter, so I am using this opalescent glitter polish from L.A. Colors and apply it focusing on the base of my nail, to further the gradient.
Lastly, once all the glitter is dry, apply a top coat to seal in the glitter and to protect your nails. And now we are finished~!!
I hope you guys enjoyed this nail art tutorial. If you try it out, share it with me on social media, or tell me in the comments below. Thank you guys so much for reading and I'll see you at my next post.
xo
Alyss


I'm going to prom on Monday, and I decided to do simple nail art for it. This is just a backwards glitter gradient, and it's insanely easy to do. You could use any color of glitter polish to match your dress or your jewelry. And you don't need to wear this to prom, it's great for any special occasion or for everyday. So let's start~~!

For this simple nail art look you will need . . .
A Base Coat / Top Coat
Nude Nail Polish
Any Glitter Polish(es) of Your Choice
Now for the glitter~! Because I wasn't sure what jewelry I would be wearing, I went for a more iridescent glitter. This one is Aisle Be There by Sally Hansen. Do to the gradient start by applying a light layer of glitter from the base of your nail towards the tip. Build up the intensity of the glitter in layers until you've reached a result to your liking. I wanted a little more glitter, so I am using this opalescent glitter polish from L.A. Colors and apply it focusing on the base of my nail, to further the gradient.
Lastly, once all the glitter is dry, apply a top coat to seal in the glitter and to protect your nails. And now we are finished~!!

I hope you guys enjoyed this nail art tutorial. If you try it out, share it with me on social media, or tell me in the comments below. Thank you guys so much for reading and I'll see you at my next post.
xo
Alyss


Thursday, February 5, 2015
Valentine's Day Manicure~!
Hey Guys~!
Valentines Day is about a week away, and like a majority of the world, I'm going to enjoy single awareness day, S.A.D. for short. I've missed doing nail art tutorials, so today I decided to this really cute and colorful heart manicure. It's super easy to do, and you really can personalize it however you like. So let's start~~!
You Will Need . . .
Nail Polish(es) of Your Choice
Clear Nail Polish
White Nail Polish
Rhinestones
Dotting Tool / Toothpick
Step #1: Apply a clear nail polish as a base coat to protect and strengthen your natural nails. Now take which ever nail polishes you want to use and apply 2-3 coats so it's opaque. The colors I used are OPI's Gargantuan Green Grape, OPI's You're Such a Budapest, and Revlon's Strawberry Cream.
Step #2: Now I'll be applying the studs. These have glue on the back, but I do like to stick them on with clear nail polish. Using a toothpick, pick up the stud and place it at the top of the nail on whichever nails you like. I put studs on my pinky and middle finger nails.
Step #3: Lastly is the hearts. Basically all you do is make two little dots next to each other and then drag the end together to make a heart. You can do different sizes, I just did small ones on my pointer and ring finger nails. Wait for that to dry and then apply a clear polish to seal in the design and add a nice shine~!!
And now we're finished~!! I hope you guys really enjoy this tutorial. If you try it out, let me know in the comments and share it with me at my social media, linked down below. Thank you guys so much for reading and I'll see you at my next post.
xo
Alyss

Subscribe to:
Posts (Atom)