I haven't done one of these in a while, so I thought I'd try to do one since I'm on spring break. Today I have this simple and really cute nail art tutorial.
It's polka dots with a rose accent nail. No professional nail art tools are required, so anyone can try this.
You'll Need. . .
Pale Pink Nail Polish {My Button Fell Off by Spoiled}
Red Nail Polish {Lox-y Lady by Spoiled}
Mid Tone Pink Nail Polish {Candy-licious by Wet and Wild}
Lime Green Nail Polish {Innocent by Sinful Colors}
Top Coat/Base Coat {Clear by Wet and Wild}
Toothpicks
Paper to Put the Polishes on
So let's start~~!
First you want to paint your nails with a base coat, to protect them and prevent them from being stained. Next apply 2-3 coats of the pale pink polish on all your nails and then pain the middle nail red. I did this cause I thought it added a nice contrast of colors. Wait for that to dry before continuing.
Time for all the polka dots. Using the same red nail polish and a toothpick, make dots on all your nails painted pale pink. You can either make them really orderly or very random and sporadic, just try to keep them around the same size. Then with a lime green nail polish, make dots on the red nail. This took a while to do, so have some patience.
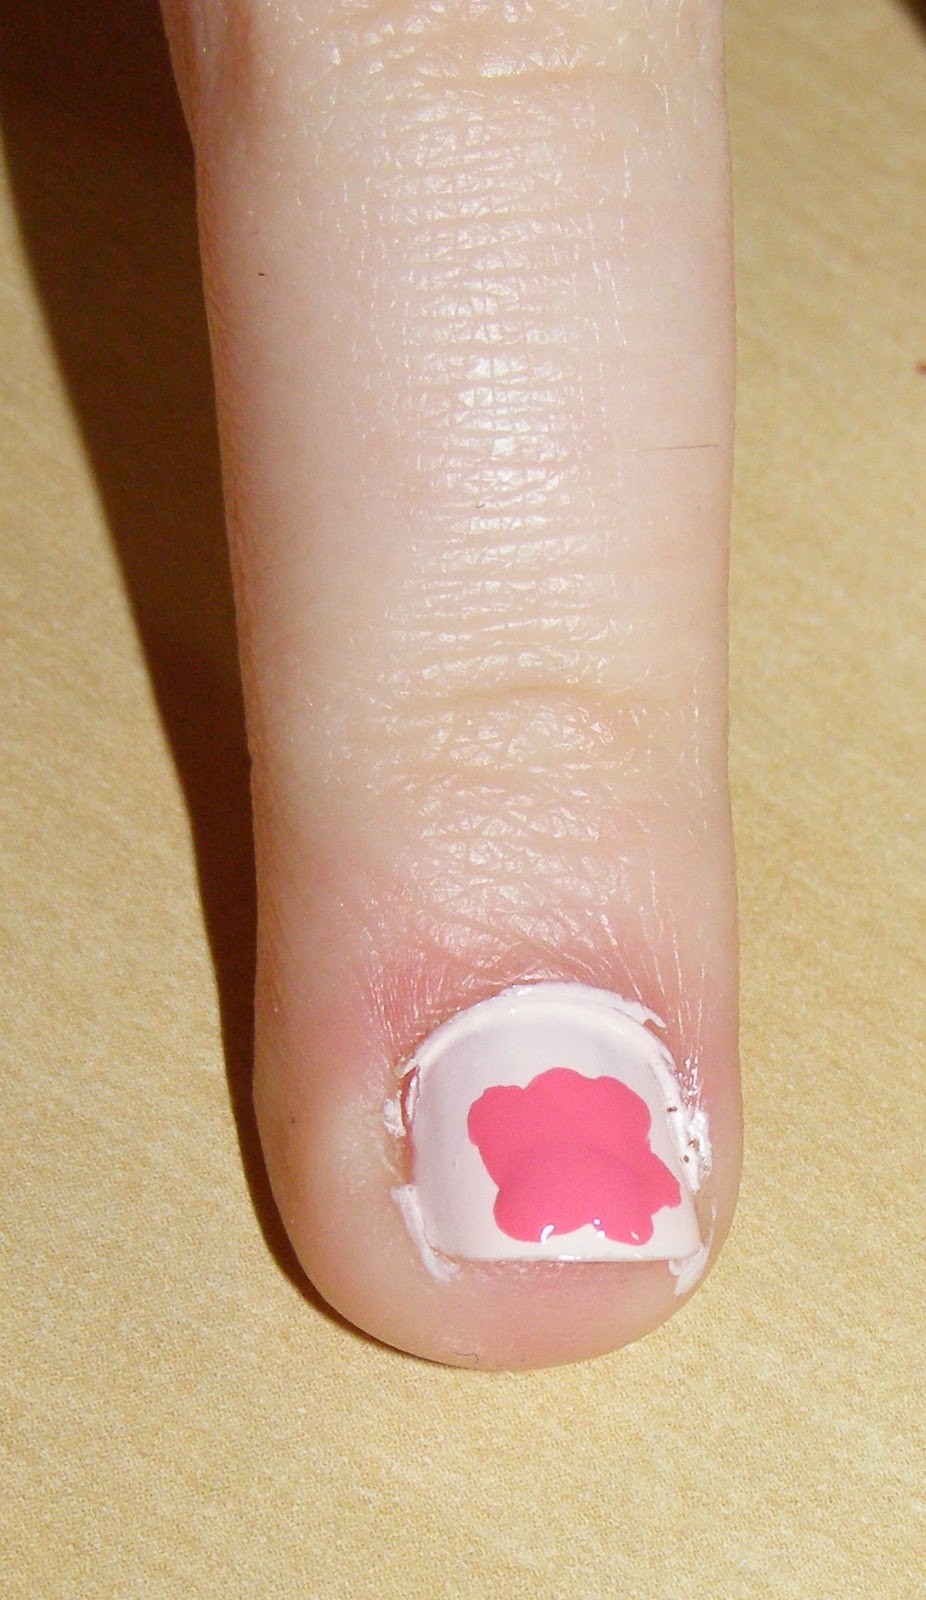
Now onto the rose. This may seem difficult, but it's really easy to do. Take your mid tone pink nail polish and make a blob, similar to a large paint splatter.
With your toothpick and red nail polish, roughly outline the blob to create petal-like shapes. Make a dot in the center and create more petal lines around it.
Lastly for the flower, take the lime green polish and create leaves by making a dot and dragging it out.
Finish off your design with a top coat and you're finished~~!
I hope you guys like this cute, spring inspired, nail art. Leave me a comment if you liked it and leave any suggestions for future nail art designs. Thank you so much for reading and I'll see you at my next post.
xo
Alyss


So sweet! >w<
ReplyDelete❤ ✿ CHECK OUT MY NEW POST ✿ ❤
Rinako