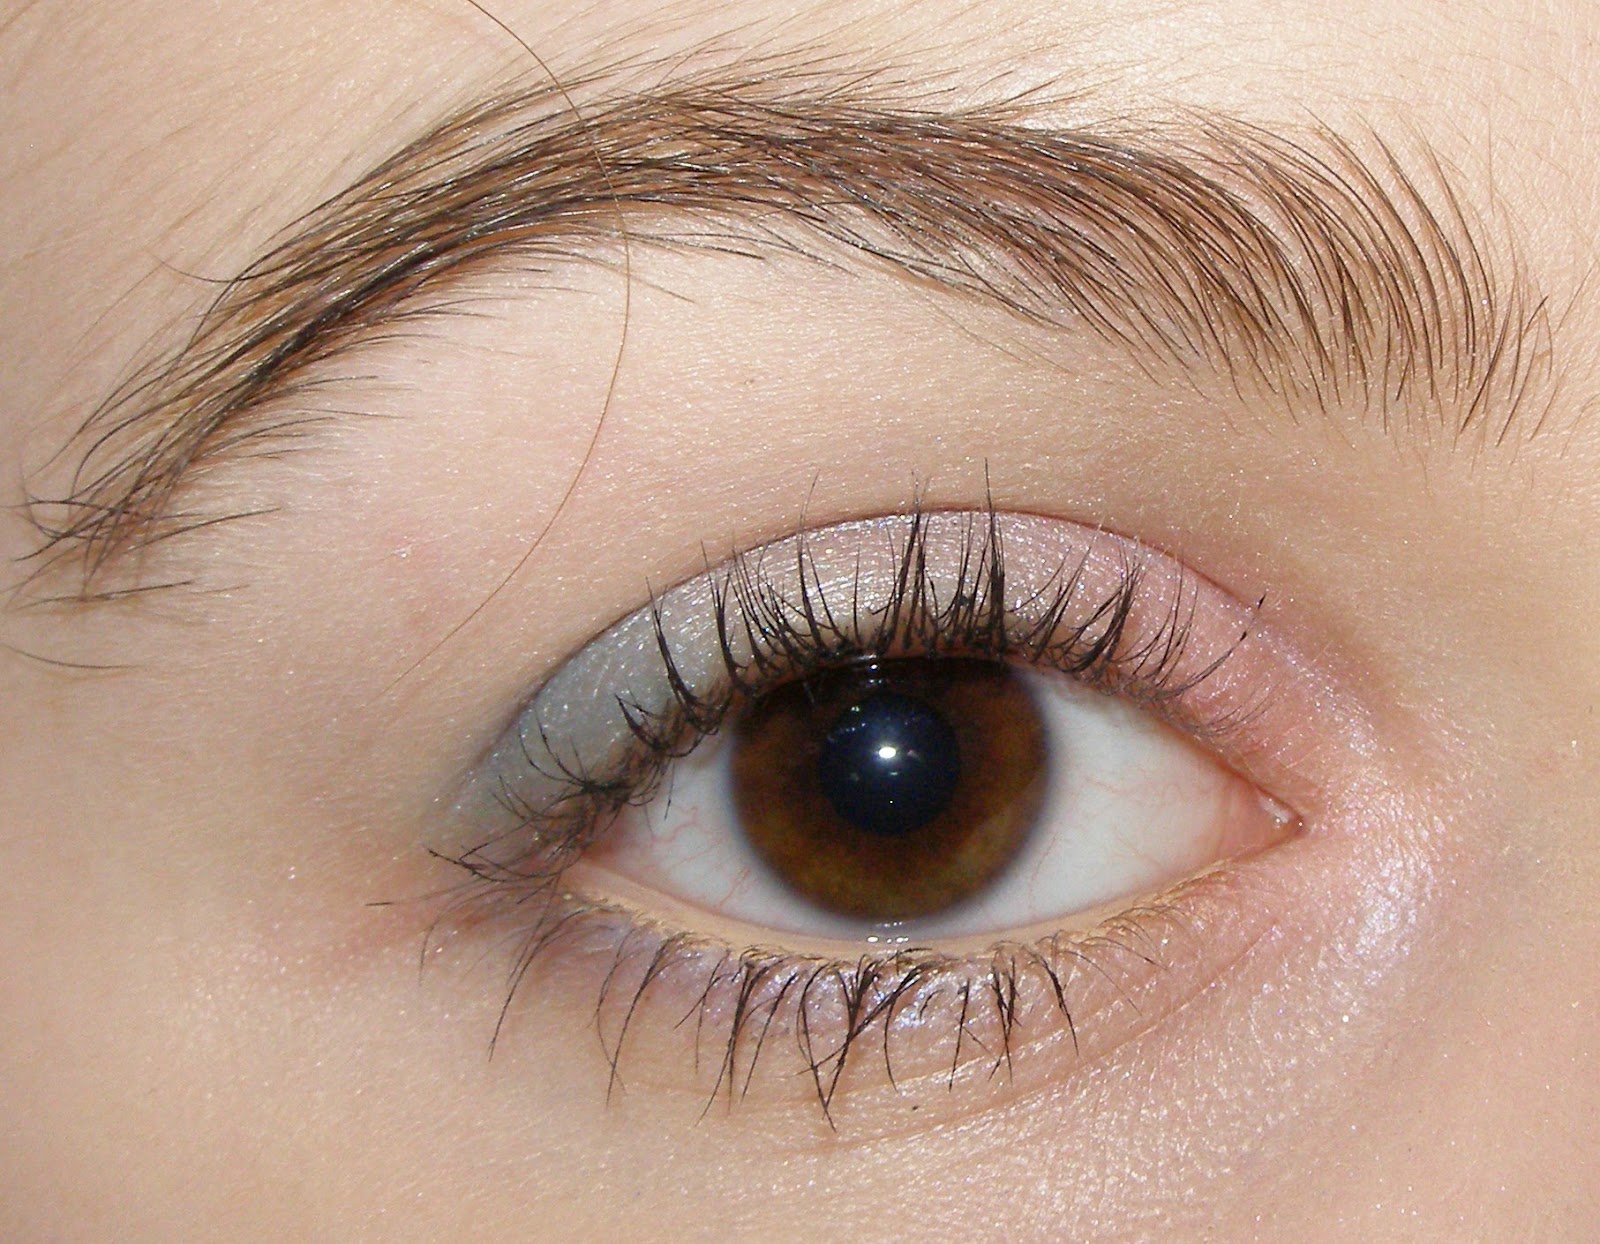
I don't often wear colorful eyeshadow, but I thought I'd try and experiment a bit. This led me to create this look and I thought I'd show you guys how to recreate it. It's very bright and colorful, which is completely out of my comfort zone.
But I really like how it looks both in person and in photographs. I use only drugstore products, so this will be easy to recreate. But if you want, use whatever you like. So let's start~~!
I already did my face makeup before starting this. So if you want a foundation routine post, leave a comment and I'll try to make one soon. Before anything else, I'm just going to lightly fill in my brows with the Milani Brow Fix Kit in the shade Light and a small angled brush. That way the eye brows can better frame the face and balance out the look.
First thing I do is prime my lids using the Maybelline Color Tattoo from the Metals collection in the shade Barely Branded. It's a shimmery champagne color and applying this will brighten the eyes and create a base to keep the eyeshadows looking vibrant.
For this look I will be mostly using the Wet and Wild palette in the shade #737A Poster Child.
The first shadow I'll be using is this light pink one on the top left side mixed with the warm pink underneath. With a flat eyeshadow brush, I patted this onto the inner part of my lid and blended it towards the center lid. But don't apply it onto the center. Also apply it in the inner corner and lightly along the inner lower lash line.
Next I mixed a bit of the green turquoise color with the lighter blue and applied it using the same brush on the outer lid. Like the pink, blend it so it fades into the champagne cream shadow, but don't cover it. Also apply it to the outer lower lash line and blend it into the pink.
To help transition the colors together, apply a champagne eyeshadow to the center lid and blend it into both the edges of the pink and blue. I used my L'Oreal Infallible Eyeshadow in the shade Iced Latte.
In order to further the transition, I used the light lilac color from my Maybelline Eyeshadow Duo in Lasting Lilac and applied it over the champagne. Also apply it on the lower lash line between the blue and pink.
Lastly for the eyeshadow, apply a soft cream or white eyeshadow to the brow bone. This will brighten the eyes and help the colors pop. I used the matte cream shade from this Revlon Custom Eyes Kit in #10 Sweet Innocence.
In order to brighten the eyes, apply either a nude or white eyeliner to the waterline. I used my Rimmel Scandaleyes liner in the color Nude. Then I tight lined my upper lash line using my Rimmel Scandaleyes liner in Black. If you want, you could line your upper lash line and wing it out, I just chose not to.
Now it's time to curl your lashes and apply mascara. I used my Covergirl Clump Crusher Mascara and I applied it to both my upper and lower lashes. And this next step is optional, but if you want you could apply false lashes too. If you do, apply eyeliner to your upper lash line over the lash band to help it blend into your natural lashes.
For the lips I just applied the Maybelline Baby Lips in Cherry Me. It adds a bright red tint without being to bold for the rest of the look.
And that's it, we're done~~!
I really like this look. It's super bright and colorful, which makes it perfect for spring and summer. If you want to try a more colorful eye look, I'd definitely try this out.
I hope you guys enjoyed this tutorial. If you want a full review on the Wet and Wild Palette, let me know in the comments. Thank you guys so much for reading and I'll see you at my next post.
xo
Alyss


Wow, that's so cute! I really like how you made the tutorial, it was easy to understand and very helpful!
ReplyDeleteYou are such a cutie! ^^
ReplyDelete❤ ✿ MY BLOG ✿ ❤
Rinako
cute! Love the colors :)
ReplyDeletehttp://imaginarymi.blogspot.com/
You look so sweet~ I love it!
ReplyDeletemy blog♥