Showing posts with label halloween. Show all posts

Saturday, October 31, 2015

Broken Porcelain Doll Costume {and Makeup Tutorial}~!

Hey Guys~!

Happy Halloween~!! Today I will be showing you my Porcelain Doll costume that I'm wearing to a party with some friends. There will be a makeup tutorial and an O.O.T.D. so if you are last minute with your costumes like me, you have an idea. So let's start~~!


Wednesday, October 28, 2015

D.I.Y. Halloween Blood Drip Necklace~!

Hey Guys~!

Sometimes for Halloween, I like having an accessory that I can wear to school so I'm in the Halloween spirit, but not wearing a full costume. Today I'll be showing you guys how to make this blood drip necklace. It's super easy and works as a great accessory for tons of different costumes. So let's start~~!


Tuesday, October 20, 2015

Favorite Anime to Watch on Halloween {Collaboration with Minae}~!

Hey Guys~!

It's only ten days away from Halloween, and this year it's on a Saturday which means dressing up and partying all night. For me, part of that party is always watching some anime while I get ready. Today Minae and I have another anime collaboration where we'll be sharing what our favorite anime to watch on Halloween are. Some will be scary/gore, others will be cute, or creepy, or have cute little monsters. Anyway, hopefully there is something for everyone on this list. So let's start~~!

Saturday, October 10, 2015

Zombie Nail Art Tutorial~!

Hey Guys~!

It's October, and that means Halloween~!! It is one of my favorite holidays because it's the one day a year I can wear cosplay and no one will judge me for it. Anyway, to get in the spooky spirit, I'll be showing you guys how to do this cute zombie nail art. I am a huge fan of AMC The Walking Dead, and the new season is starting this Sunday, so I thought it would be like killing two birds with one stone. So let's start~~!


Friday, October 31, 2014

D.I.Y. Batman/ Bat Girl Costume + Makeup Tutorial~!

Hey Guys~!

It's Halloween and I thought I'd share a really quiz and easy D.I.Y. costume which I do plan on wearing. Criminals beware, for I will be Bat Girl~!! This is cheaper than buying a superhero costume, and this can be adjusted for any other superhero. Also I included a simple tutorial for my makeup. So let's start~~!
image
First we'll make the Bat symbol. There are many patterns online, {click here} to get the one I used, but you can free hand it too. Cut out a large oval out of yellow felt. Then sketch out the bat pattern onto the black felt and cut it out.


Next sew the bat symbol onto the yellow oval. If you can't sew, just use fabric glue or a glue gun to stick them together.


To attach it to the costume, just use a safety pin to secure it onto whatever you're wearing. Or you can sew on a jump ring, string it on to a cord or chain and wear it as a necklace.


Now for the actual costume I decided to wear this black skater dress from Forever21. The material has a spandex/superhero costume look and feel to it, so I thought this would be perfect. Obviously I have my bat symbol on my dress and I love how it turned out~~!! For my "utility belt" I just put on this black one with gold detailing. If you have a yellow belt or ribbon, you can use that instead. If it's cold where you live, where some leggings or thick black tights. I decided just to wear some sheer skin toned ones. Any black shoes or boots work for this look. I decided to wear these black combat boots that I got at DSW.


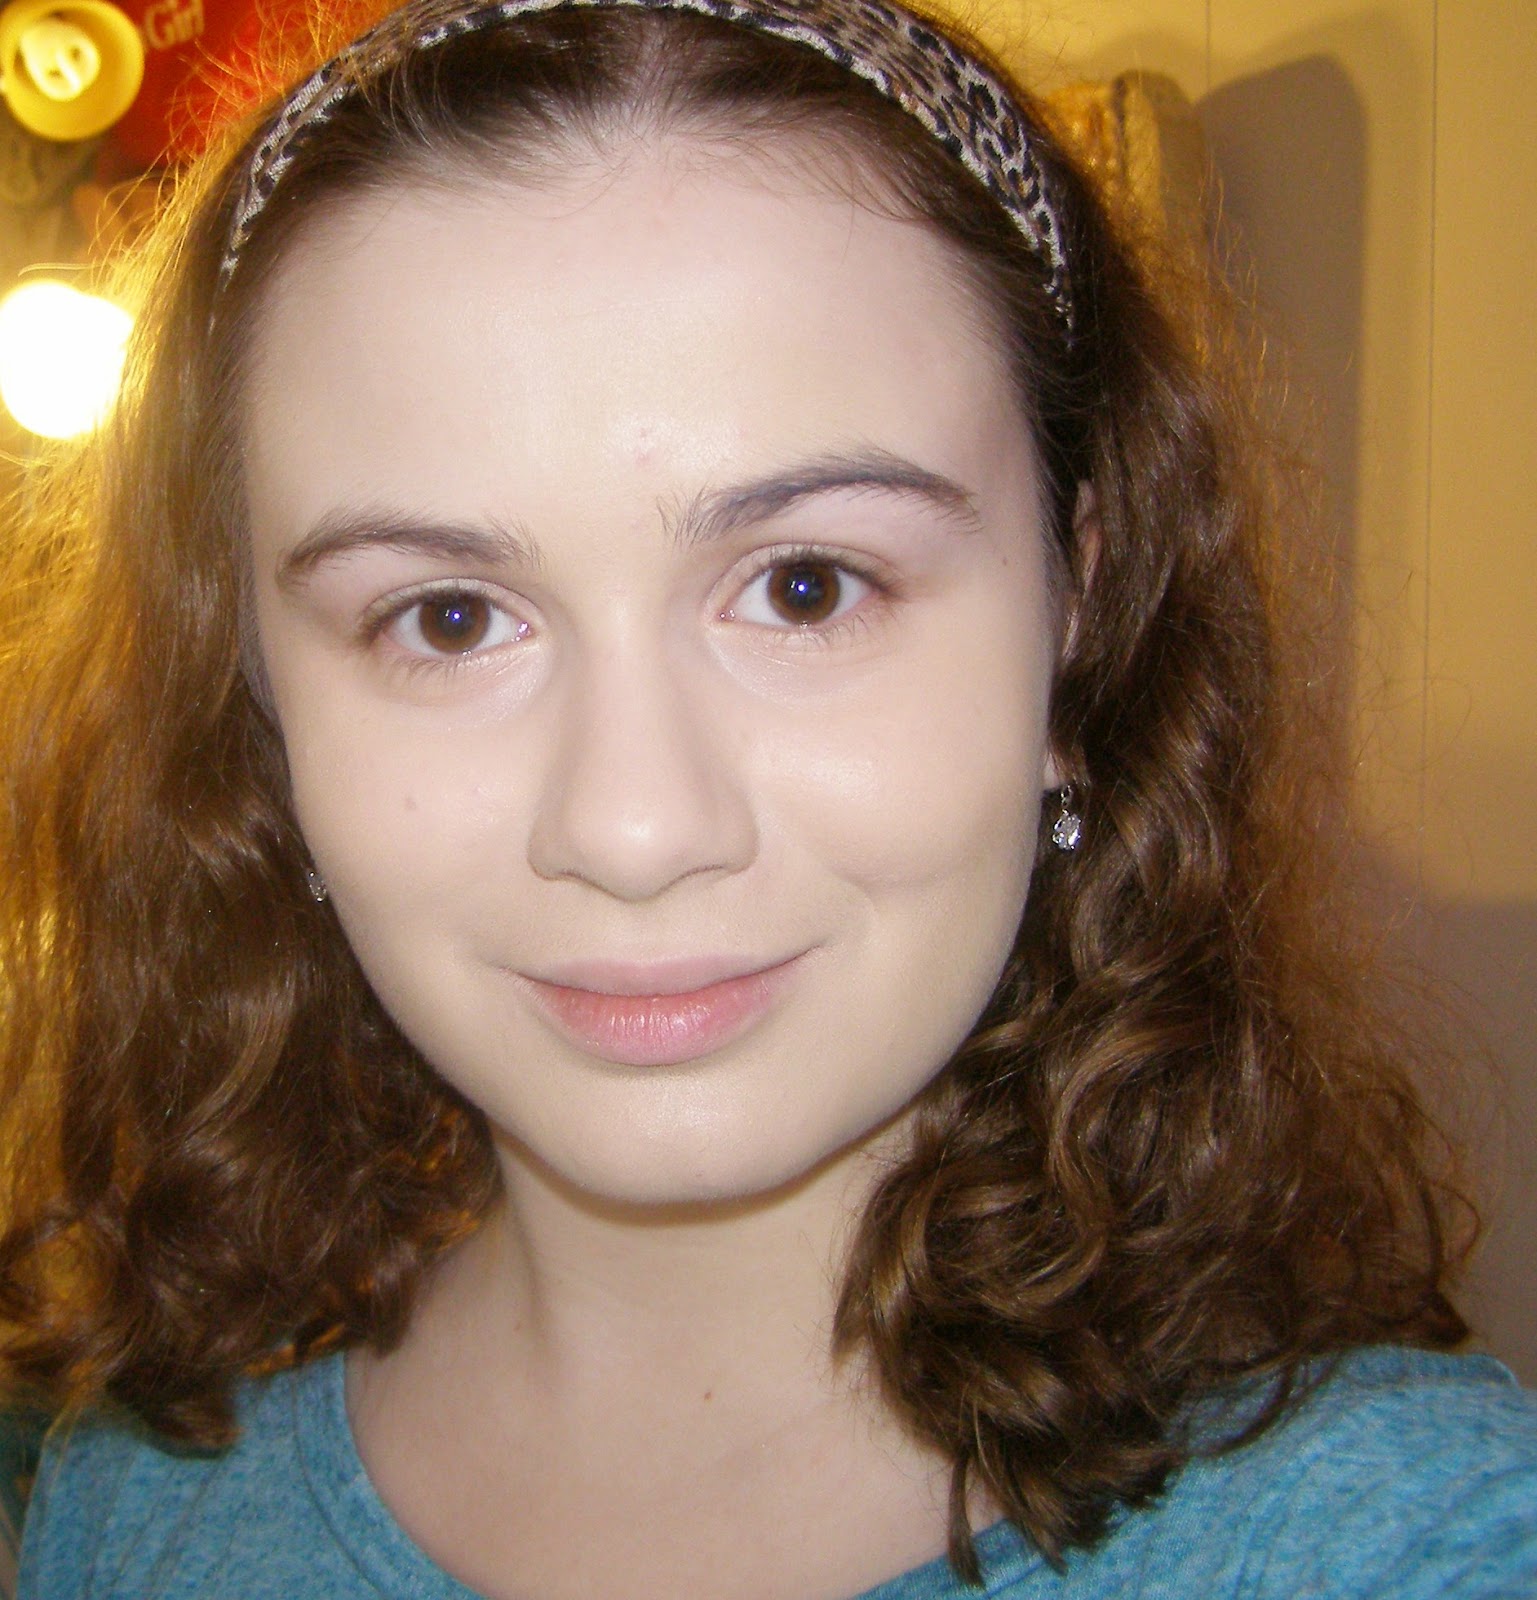
For my makeup, I just did my regular face makeup routine. The eyes can be made darker, but I wore this to school, so I didn't want to go too crazy. I started by applying an eyeshadow primer from Elf all over my lids.

Then I lightly filled in my brows with my Anastasia Brow Wiz pencil.


I decided to use some eyshadows from my new Too Faced Matte Eye palette (I do plan to review this soon.) I started by applying the color Fresh Linen, a matte pale pink, all over my lid and up to the brow bone.


Next I blended the color Pebbles, a matte mid-toned gray to my crease and outer lid. Make sure you blend it nicely and create an even transition.


Lastly I took the navy blue eyeshadow called London Fog and used it to lightly line my lower lash line.


I decided to line my eyes, since I thought it would make the look more dramatic. I used my Jordana Fabu-Liner in black and did a simple winged eyeliner.


Because I didn't want my eyes too dark, I lined my waterline with a nude liner from NYX. Last part for the eyes was applying mascara to the upper and lower lashes, I used Maybelline's The Rocket.


For my lips I decided to keep them simple and I used a simple light pink lipstick. You can wear a dark berry or black lipstick if you're really daring. And now we're finished~!!


I hope you guys enjoyed my costume and makeup. Share you costumes with me on Twitter or my Facebook page, I'd love to see them~! I wish everyone a Happy Halloween and that you all have a fun night. Thank you guys so much for reading and I hope to see you at my next post.

xo

Alyss
imageimageimage
Facebook | Twitter | Bloglovin' | YouTube |

Wednesday, October 29, 2014

D.I.Y. Potion Necklaces / Charms~!

Hey Guys~!

For Halloween I thought I'd show you guys how to make these beautiful and creepy potion necklaces. They're really fun to make and can be customized however you like. Also you can put it onto a phone strap and make it a charm for your phone. So let's start~~!


You'll Need
Wire
Chains
Beads/Embellishments
Eye Pins 
Headpins
Mini Bottles
Jump Rings
Pliers 
Wire Cutters
Glue 
Paint

First take a paper cup and mix your glue with some paint. Use any color you like. I used watercolor because I didn't want it to look too opaque. If the mixture is too thick, add a tiny amount of water, just to loosen up the mixture.


Once everything is all mixed up, carefully pour it into your bottle. I got a set of ten of these in the craft store. If the glue paint mixture overflows, just clean up the bottle and tap it down on your work surface so the mixture falls to the bottom.


This is the simplest part. Take an eye pin and cut off part of it using the wire cutters. Then push it into the cork so it looks like this. Your bottles may already have a pin in them, but mine didn't.


Time for the fun part, DECORATING~!!! For this one I took some silver wire and wrapped it around the neck of the bottle. As I wrapped it, I strung on some small pearls. Once I was done with the wire, I took rhinestone and slipped a jump ring through it and attached it to the wire.


 Lastly for the decorating I made a bead charm. I just picked three beads and strung them onto a headpin. Then cut off the excess wire and bent it to create a loop. And then I attached it to the eye pin in the cork using a jump ring. To make it into a necklace, sting the charm onto a cord or attach it to a chain using a jump ring. For a phone charm, just use a jump ring and attack it to the strap. And now we are finished~!!!


 I had so much fun making this D.I.Y. Afterwards I made the pink one on the right, and instead just mixed the glue with pink paint and added different colored beads and a heart charm.


I hope you guys enjoyed this D.I.Y. If you tried it out, let me know in the comments below. I'd love it too if you guys sent me pictures of your recreations of these and you can do that at my Facebook, Twitter, and email. Thank you guys so much for reading and I'll see you at my next post.

xo

Alyss
image
Facebook | Twitter | Bloglovin' | YouTube |

Sunday, October 12, 2014

1920s Inspired Makeup Tutorial~!

Hey Guys~!

A few nights ago I had a special occasion to attend to.  I really liked my makeup I wore, so I thought I'd show you guys this 1920's inspired makeup look. I didn't have time to film this, so this will be a written out tutorial. Also this look is great if you want to be a flapper girl for Halloween. So let's start~~!
 

To start, apply your favorite moisturizer and/or primer. I'm using the Clean and Clear Gel Moisturizer and then the  Maybelline Baby Skin Primer. This will create a smooth base for the makeup, allowing it to last longer.

For my face makeup, I applied my Tarte Amizonia Clay Foundation with a flat topped brush all over my face and neck. Then under my eyes I applied the Maybelline Lumi Touch Concealer under my eyes and blended it out. For my blemishes and any redness I applied my Maybelline Fit Me Concealer and blending it in. To set all of that I used my Airspun  Powder, which photographs beautifully.

Because I didn't want to look washed out in photographs, I decided to lightly apply some bronzer to my cheek bones and around my face. I used my NYC Bronzer, and then for my cheeks I used Sleek's Rose Gold. Lastly I applied Benefit Watts Up Highlighter to my cheekbones and cupids bow.


Now onto the eyes~~!! 1920's makeup was a lot of smokey, dramatic eyes. So I decided to do a deep berry/plum smokey eye.

First I applied eyeshadow primer, which makes the shadows more vibrant and last longer. I used the Elf Primer in Sheer.


Then I lightly filled in my eyebrows where I felt necessary with my Anastasia Brow Wiz. You don't want to make your brows too defined or dark, because you want the attention on your eyes.


For the eye look I'm using colors from the Urban Decay Naked Palette. On my lid I applied the color Toasted, a shimmery berry color, all over with a flat brush.


In the crease and outer V I put the color Hustle, a dark plum, with a small blending brush.


If you think it looks too dark, like how I felt it did, apply a shimmery light pink or champagne in the inner corners. I used the color Sin, on the same small blending brush.


To highlight the brow bone, I used the color Virgin, a pale shimmery pink, and applied it with a fluffy brush only under the arch of my eyebrow.


With a small angled brush, apply the color Sin on the inner lower lash line. Then on the outer lower lash line, apply Toasted. Blend the two colors together where they meet.


Line the upper lash line with a black liquid or gel eyeliner. I made a slight cat-eye, but if you want a more smokey look, blend it out with a bit of black eye shadow. My favorite liquid liner is the Jordana Fabuliner.


To make the eyes pop, line your tight line and water line with a black or gray eyeliner. I used my Stila Smudge Stick in Halfmoon.


Lastly for the eyes I applied some mascara on my upper and lower lashes. If you want to, you can apply false lashes.

On my lips I decided to wear my MUA Lip Stain in Rose, so all the attention was on my eyes. And now we're finished~~!!!


I hope you guys enjoyed this tutorial. If you have any questions, or requests for future tutorials, let me know in the comments below. Thank you guys so much for reading and I'll see you at my next post.

xo

Alyss
image
Facebook | Twitter | Bloglovin' | YouTube |

Saturday, October 4, 2014

Blood French Manicure Nail Art~!

Hey Guys~!

With it being October now, I thought it would be fitting to do a Halloween nail art tutorial. I know I haven't done a nail art look in a while, but today I decided to do one. This design is super easy to do, and you don't need any professional nail art tools, just a toothpick. So let's start~~!


   oOoOo You'll Need oOoOo
Base Coat
Nude Nail Polish
Glitter Nail Polish
Red Nail Polish
Berry Nail Polish
A Toothpick or Sewing Needle
Top Coat


As usual, start by painting your nails with your base coat. This will prevent the polish from staining your nails, and make the design last longer. For the first color, we'll be just painting the nails with a nude polish. It doesn't have to be opaque, we just want a nice, even nail color.  This next part is optional and that is to apply a glitter top coat. The one I'm using has opalescent glitters and I think it adds to the design. I applied two coats and waited for it to dry.


Now onto the blood~~! Start by taking your red nail polish and creating a messy french tip. It doesn't need to look good at all.


Using the berry nail polish and either a toothpick of a sewing needle, make large dots of the polish and drag it down to the red french tips. Make smaller dots connecting the ends of the drips. And then if you want to, make other dots on the nails so it looks splattered. Lastly apply a top coat to seal in the design and add a beautiful shine. 


And there is your bloody manicure. I really like how it turned out, and I hope you guys like it too. If you guys recreate this look, share it with me on my twitter @AlyssAlluring or on my Facebook Page, both are linked below. Thank you guys so much for reading and I'll see you at my next post.

xo

Alyss
Facebook | Twitter | Bloglovin' | YouTube |